|
I need some green sand for building the moulds, otherwise I figure I am not really sand casting. I didn’t know that sand could so complicated and so much hard work!
The term green sand has nothing to do with its colour (although some sands that contain Olivine may be greenish). The term is about moisture content in the same way that green wood is wood that has not been dried out.
Green sand comprises sand, clay and water in a weight ratio of about 82:12:6. The individual sand particles must be coated in the clay and the moisture content must be evenly distributed through the clay.
Ideally there would be a local stream or river (fresh water) with banks of naturally clay bonded sand. The sand would comprise a number of minerals including Silica and Olivine with an appropriate average particle size and size distribution, without too much sludge, fines or organic material.
Unfortunately there are many parameters that determine how well a particular sand will perform for a particular casting job and these are not necessarily well-defined. However green sand must have appropriate strength when hot and cold, porosity, and mouldability (the ability to take an impression).
There is a local top soil supplier that also sells a range of sand including something called Foundry Sand. That sounded promising so I purchased a 25 kg bag. The sand was true to label, just sand with no clay. I set about mixing it with Bentonite clay - in effect making synthetic green sand.
Mixing and conditioning of green sand is carried out on an industrial scale using a sand muller and riddling (sieving). A muller is a mixing machine that cyclically compresses, rolls and disperses the sand by rotary blades. I figure I can do the mixing by hand.
First I cleaned a section of concrete floor, a spade and some gumboots. The sand was poured into a pile and spread out over about 1 m x 2 m.
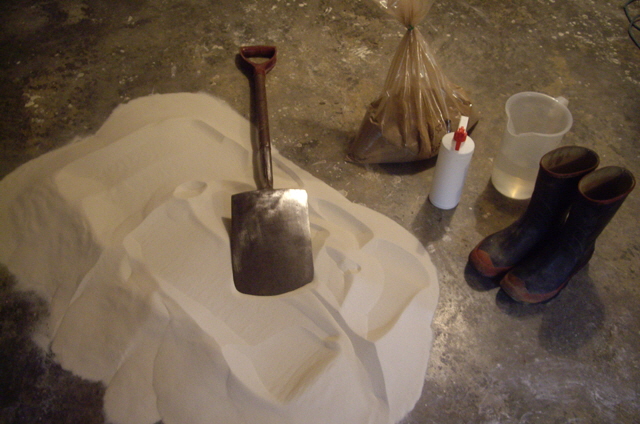
Figure 1. Equipment Clean and Ready for Mixing
The water was sprinkled over the pile and stomped down. Using the spade I moved half of the pile on to the top of the remaining half, stomped it down and then moved half of the resulting 1 m x 1 m pile on top of the remainder and stomped it down. The pile was then spread back out to about 1 m x 2 m using an aerating throwing action followed by breaking up the pile using the spade blade with a digging and scraping action. This process was repeated five times.
Next I progressively added the Bentonite by sprinkling it over the 1 m x 2 m pile before the stomping and mixing. After the Bentonite was added I mixed the pile a further ten times. The idea behind this mixing process is akin to repeatedly folding a piece of paper onto itself eventually producing millions of layers. Given that the spread pile was about 100 mm thick this means that each mixed layer was less than 100 um thick.
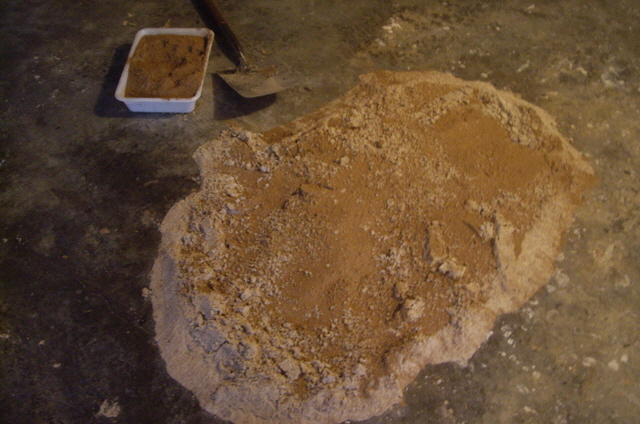
Figure 2. Adding Bentonite Clay
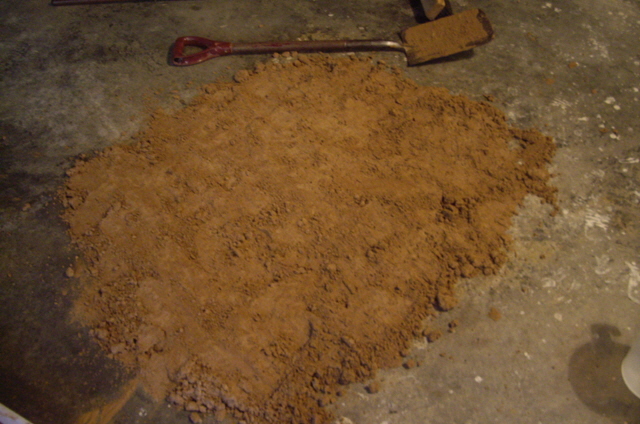
Figure 3. Stomp
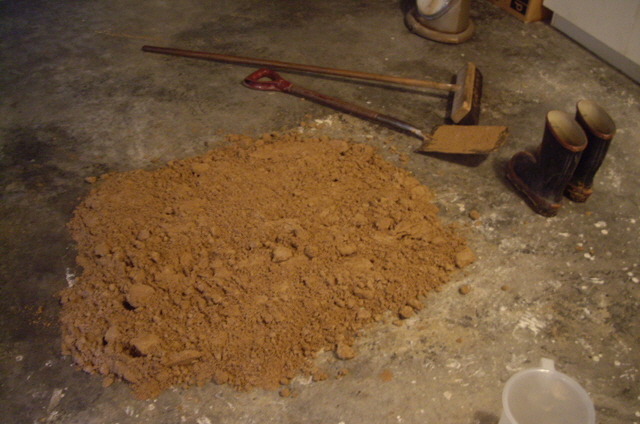
Figure 4. Cut the Pile and Stomp
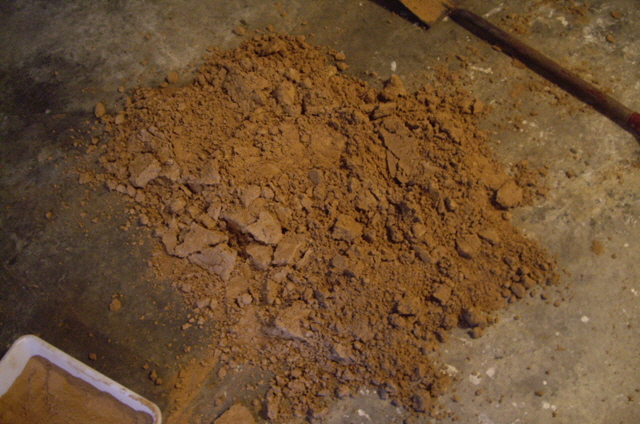
Figure 5. Cut the Pile Again and Stomp
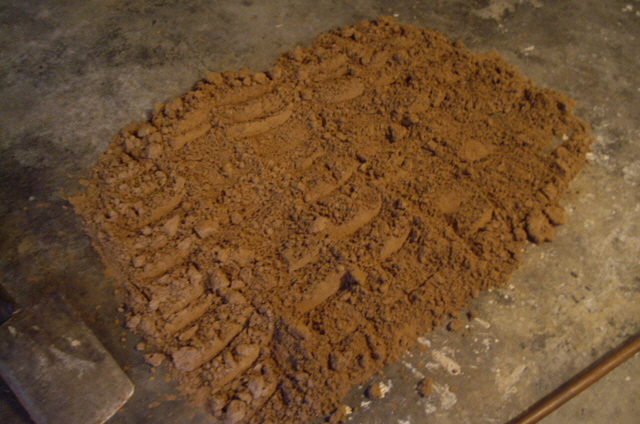
Figure 6. Spread Out Loose, Cut and Start Again
Once the mixing was completed I put the entire pile through a fine sieve with a 1 mm stainless steel mesh. This last process was somewhat time consuming as the mixed sand had to be forced through the mesh by hand provided both a mulling and riddling action.
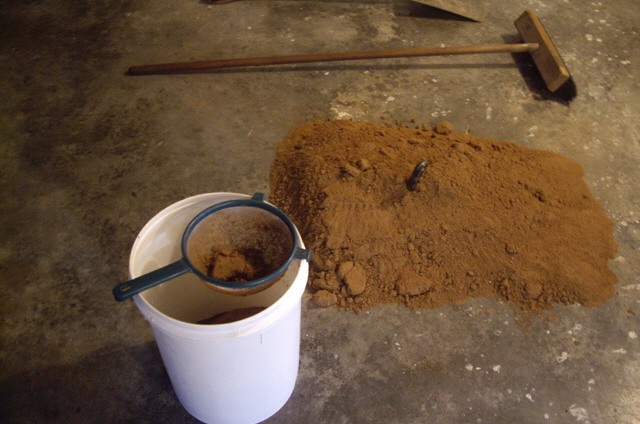
Figure 6. Riddle
After mixing the green sand it was time to test it by taking a handful, squeezing it, blowing through it and breaking it. The sand was extremely porous and had good strength with a nice clean break. However it did not take a high resolution imprint of my fingers.
The reason for this lack of resolution has to be the sand grain size and size distribution. I put some of the original sand under the microscope. The sand was almost entirely Silica with an average grain size of 0.23 mm and a narrow range of particle sizes. The individual grains were smooth.
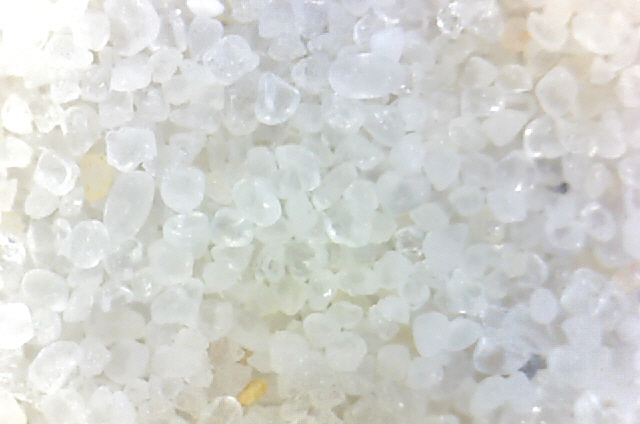
Figure 7. Silica 0.23 mm Average Diameter
I also examined some of the clay mixed sand under the microscope. The grains were well-coated with clay and had excellent particle to particle adhesion.
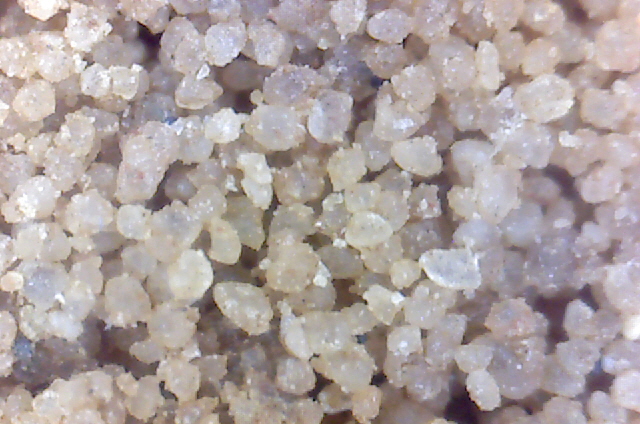
Figure 8. Even Clay Coating of Silica
I have a couple of aluminium casting given to me by a bloke in Southland about 20 years ago when he kindly showed me his sand casting process. I found one of these castings which had excellent resolution and an almost flat surface texture. The casting had never been cleaned and retained some of the original sand in the detail. I examined this under the microscope. The average particle size was about 0.1 mm with a limited range of particle sizes. The individual grains were quite sharp and were not all Silica.
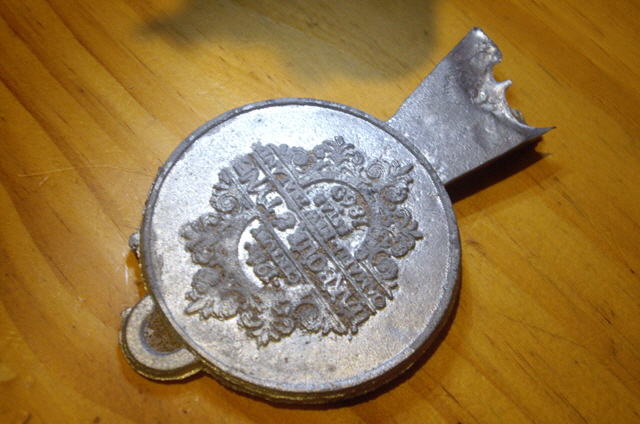
Figure 9. Old Casting (1996)
Clearly I’m going to need some more sand with a grain size of about 0.1 mm, and preferably not Silica. My aversion to Silica is due to its change in structure and expansion at high temperatures which can cause airborne microscopic particles, and anecdotal accounts that other sands produce better finishes, particularly for Aluminium.
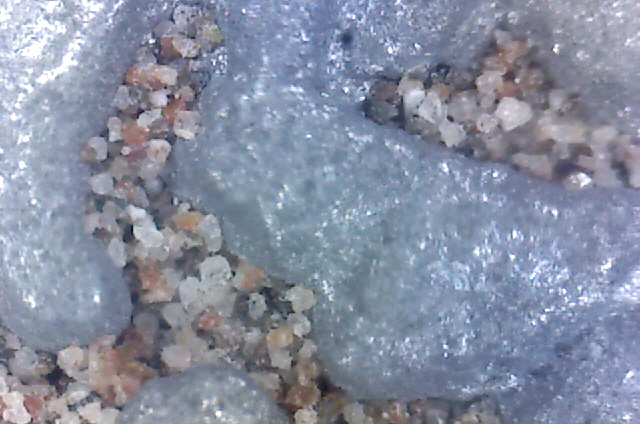
Figure 10. Old Casting Sand Inclusions, Typically 0.12 mm in Diameter
I had a look along the banks of a local stream that flows along a steep course through bush but the sand was too course and had a lot of organic matter in it. Tomorrow I will head out to a local river that is well clear of bush with a relatively long course and low grade. Hopefully the sand will be more suitable. Well I found some river sand but it has very little clay content and a very wide range of particle sizes (from <0.1 mm to >0.6 mm . It has much less Silica than the previously examined sands but I can only guess at what the other grains are made of. It will take a lot of work to grade 25 kg of this with a sieve and add clay. Maybe I need to look further afield or spend some money?
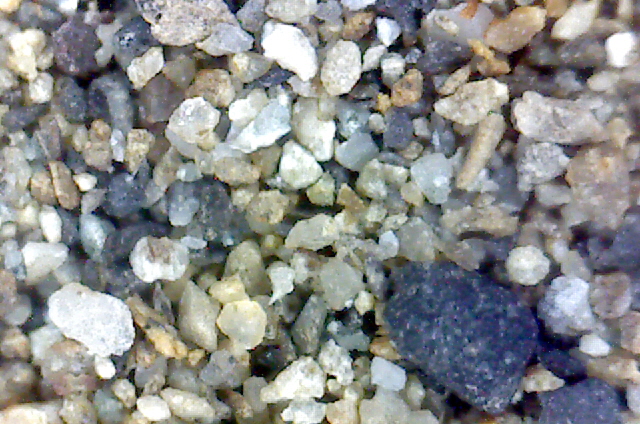
Figure 11. Natural River Sand (Ungraded)
I’m going to use the sand that I have mixed in the first instance. Let’s see how well it performs.
Next we need something to make the mould in. It’is called a flask. Please click here.
|