|
So you’ve printed your very first model, likely ‘The Rook’, and it looks great but it seems to be stuck on the build plate.
So you try and and twist it off and the model cracks, but the base is still stuck to the build plate. Bugger!
Next you reach for the metal scraper that came with your printer and try and force this under the model. The model comes free at last but there is a gouge in your build plate and the edge of the base has been damaged. And by the time you have printed a few models your build plate is scratched up and as a consequence your models are sticking ever tighter to the build plate.
All the while the surface finish of surfaces on the build plate is deteriorating. Every scratch is faithfully reproduced on any surface printed on the build plate.
So you’re thinking there has to be a better way to separate models from the build plate and you’d be right. Here’s how to remove your model without force, hard tools, damage to your build plate or model (and as a bonus maybe save some resin to).
If you have access to a freezer (typically -18°C) then try this and you’ll never ever use a scraper again.
Drain the model on the printer. If you’re in a hurry then speed this up using a soft 1/4” paint brush to remove excess resin from the build plate and model back into the vat taking to care to avoid splashing or dripping resin onto the deck of your printer.
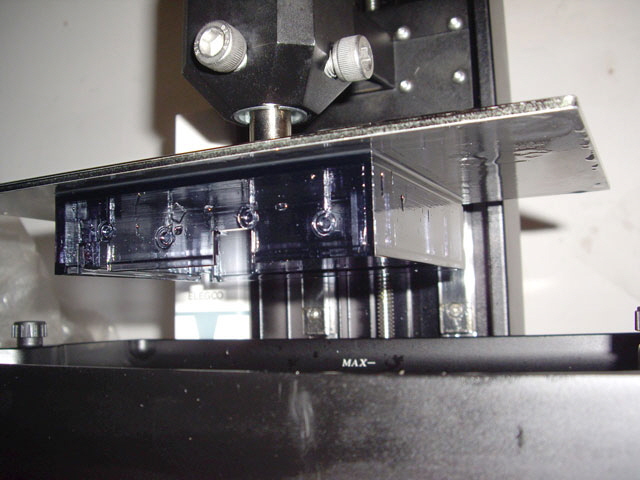
Now remove the build plate complete with model and put them in a plastic bag. I use recycled bags that I save for this purpose.
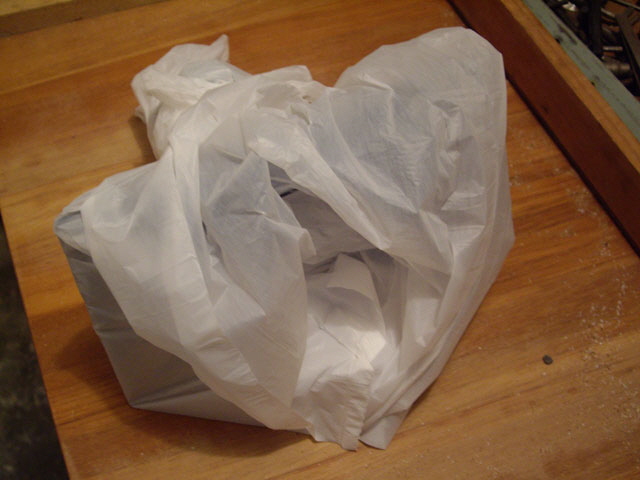
Figure 2. Build Plate and Model in the Bag
Put the bag in your freezer for about 20 minutes and the model will literally fall off the build plate.
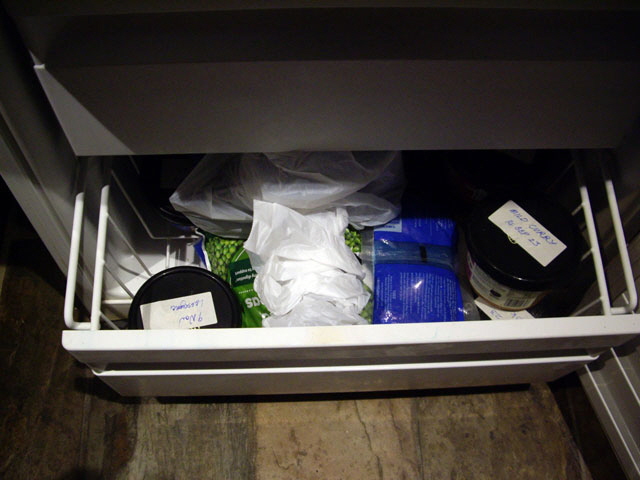
Figure 3. Bag in Freezer
Refit the build plate to your printer without cleaning where it will return to ambient temperature in a few minutes and any excess resin will eventually be returned to the vat.
Handle your model with care as it may be brittle for a few minutes until it has thawed. Remove any supports and proceed with the normal wash, dry and cure.
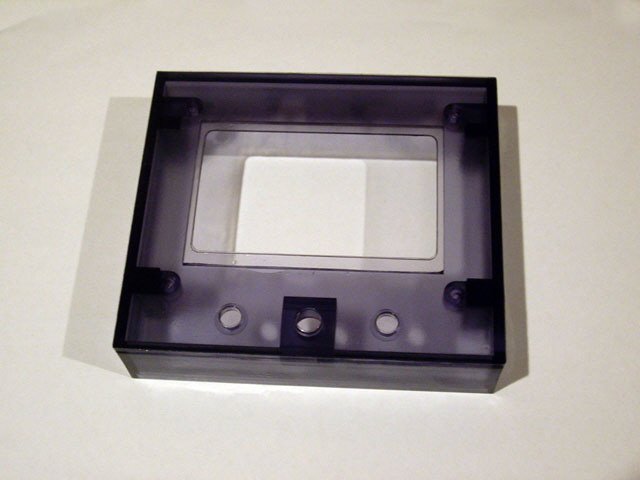
Figure 4. A Darn Near Perfect Print with no Damage to Model or Build Plate
Finally dispose of the bag in an appropriate manner as for all other resin contaminated consumables starting with a sunlight cure.
There are two alternative themes. One is to use freeze spray (for example CRC556) on the build plate. I don’t advocate this because it is expensive and having read the MSDS and TDS I have no idea what the propellants or solvents in this product are.
The second is to use heat at about 40°C above ambient. A domestic oven will suffice. But note that some resins may deflect at moderately elevated temperatures.
Why does this work? The short answer is the relative conductivity of cured SLA resin and the aluminium build plate. My initial thought was it was due to the differential thermal expansion but I was wrong.
Most plastics are considered to be thermal insulators while aluminium is considered to be a good thermal conductor. The heat capacities of these materials are similar. In the freezer the build plate cools about 1,000 times faster than the model. While the thermal contraction of aluminium (and most metals) is about half that of cured SLA resin, the aluminium shrinks much faster due to the relative conductivity. Thermal contraction forces can be significant - enough to deflect concrete walls, bend steel and fracture solid rock. There is no vertical restraint. So the differential contraction breaks any mechanical bonds in the horizontal plane between the model and the build plate, and the model falls free.
The same mechanism applies with the application of moderate heat but with expansion of the build plate, not contraction.
In the past I have advocated using a scary sharp 1/4” chisel for separating models from the build plate. Click on the image below to see this on You Tube. This works, is quick and has minimal risk of damage to the model or build plate. But this is not a controlled process. The model tends to suddenly release followed by an impact landing on your bench or the floor. And a scary sharp chisel isn’t something you want to slip with and handling a liquid resin covered print in neoprene gloves is nothing short of slippery. I’ve returned my chisel to the tool chest.
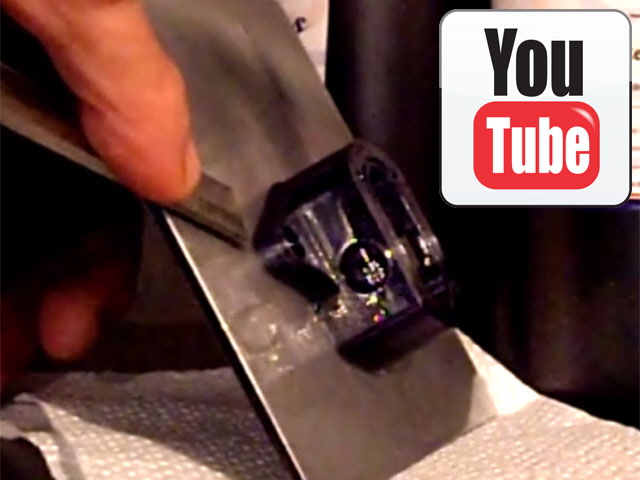
Figure 5. Click on Image for You Tube Link
Happy Printing!
Click on Love your FEP to link to another page on the Saturn 2.
|