|
My MakerGear M2 3D printer kitset finally arrived on 8 January 2015. I selected this model on the basis of numerous comparative reviews, price/performance and reported support. I chose the kitset option because this saves a few dollars, I consider myself to be at least ‘mainly dangerous ‘ for assembling mechanical and electronic equipment, the exercise could be rewarding, and this will give me a good understanding of how the machine functions.
This page (and the associated sub-pages) document my learning experience. Important points to enhance your own printing experience are highlighted with bullets and in bold as follows.
- This might be useful to help you improve your own prints.
Unboxing
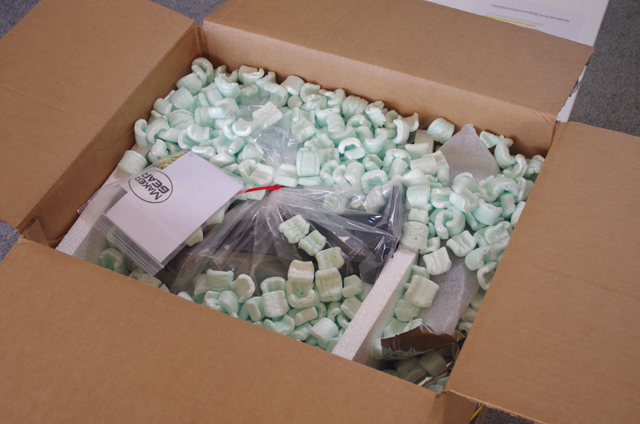
The machine came in a large cardboard box with no external damage apparent.

Figure 1. The MakerGear M2 3D Printer has Arrived
And on the inside everything was well packaged in polystyrene sheet and chip.

Figure 2. Unpackaging
On inspection of the parts a few of the plastic components are scratched or gouged but these defects should not be detrimental to the performance of the printer. There was also a chocolate lollipop with the ‘thank you for your purchase’ notice. The documentation was on the light weight side with just a few sheets of paper referring to various links for assembly instructions, a consignment note, and some bright orange safety instructions.
Please click on the text, images or or use the side navigation bar to link to:
|