|
I’m about to try lost PLA sand casting. The process is essentially identical to lost wax casting, but with the advantage of not requiring an addition set of moulds to produce a wax pattern. The pattern is produced directly from a 3D print.
Note that I will not be using investment for this casting experiment. I figure that the hot molten metal will burn the PLA directly from the moulding sand. If this doesn’t work then I’ll be reverting to lost PLA investment casing.
There are a few considerations that are desirable:
- I need to use as little PLA as possible.
- Ideally the mould cavity will fill from the bottom up with ventilation to permit any PLA gases to exhaust and carbon residues to float clear of the casting cavity.
- The pattern should fill with flow paths to promote PLA clearance.
- An open riser will be needed.
I have chosen to use a polar bear model for my experiments. This is a free-form non-symmetrical model has no plane of symmetry that could be used for a conventional parting plane. The pattern would be impossible to withdraw from the sand. If I can get this to work then I have some complicated castings that I want to complete with a commercial incentive.
Click here to read about the development of the 3D model using the freeware software package, Blender. The bear 3D print fits in a rectangular volume approximately 70 mm long, 40 mm high, and 24 mm wide. It is clearly a small casting.
The model was 3D printed with PLA. There is no infill, and with side top and bottom walls approximately 0.8 mm thick using 0.1 mm vertical layers.
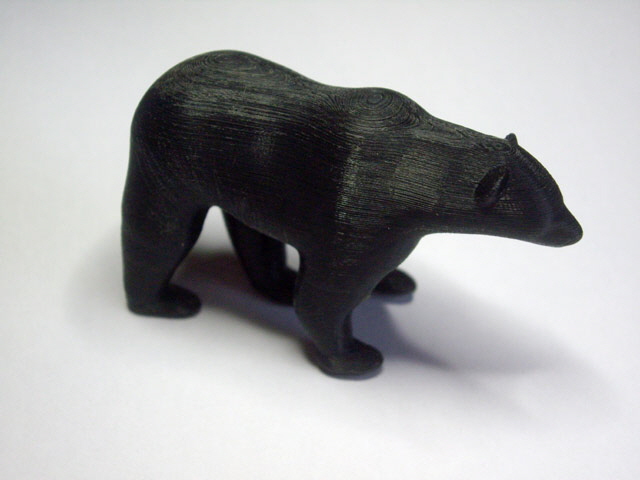
Figure 1. The No Infill 3D Printed Polar Bear Pattern
With the model printed I drilled out the feet and the high point at the top of the rump to permit immediate metal infill, progressive filling, venting and the collection of PLA residue at the top of the mould.
I’m going to try and cast the polar bear in brass. If the experiment works then I’ll hand-finish the surface and silver plate it.
Time for some rigging rules.
The volume of the casting is about 37,500 mm3. So we need:
37,500 mm3 * 0.0085 g/mm3 ~ 320 g of brass.
We’ll assume that the rigging takes this up to about 500 g.
I have estimated the optimum pour time to be about 3 seconds.
So our volume flow rate is:
500 g / ( 0.0081 g/mm3 * 3 s) ~ 20,600 mm3/s
I’m going to use a very large 17 mm diameter sprue well with a 3 degree tapered sprue with a choke diameter of 7.5 mm. There is no runner in this design. The venting will also serve as a riser.
The sprue choke area is:
The sprue choke velocity will be about:
20,600 mm2/s / 44.2 mm2 = 466 mm/s
The effective height in the sprue will be:
This might be quite difficult to maintain, but the pour time is so short, and the sprue well is so large that I figure this won’t be a problem.
I have selected a very large gate area, 30 mm wide x 4 mm high so the velocity in the gate will be very low compared with the critical velocity of 500 mm/s for brass:
20,600 mm3/s / (30 mm x 4 mm) ~ 172 mm/s.
I’m going to incline the flask about 10 degrees to ensure that the riser/vent is at the high point in the casting cavity. This should allow any residues from the PLA (mainly unburnt carbon) to float free of the mould cavity.
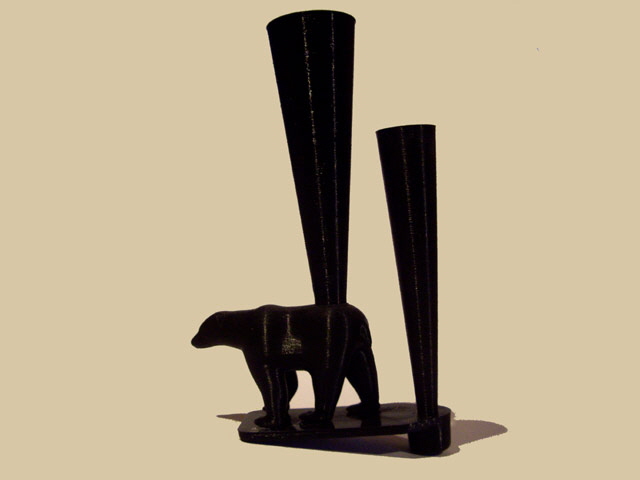
Figure 2. Pattern with Rigging
I knocked up the mould (always make the mould before you begin the melt).
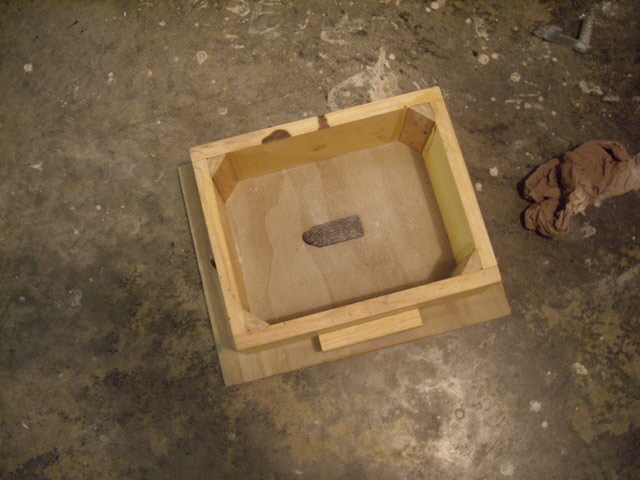
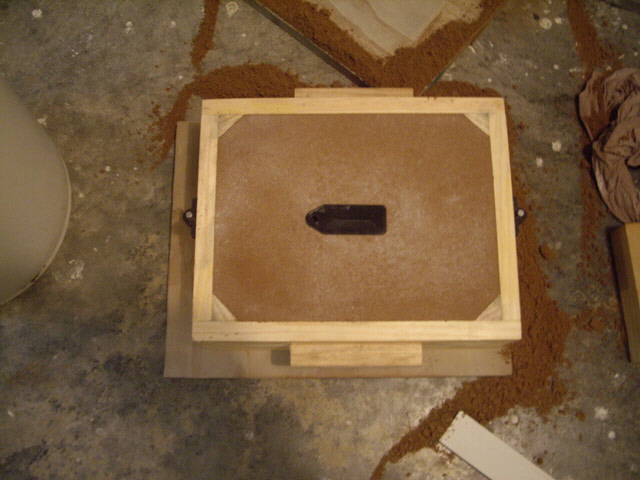
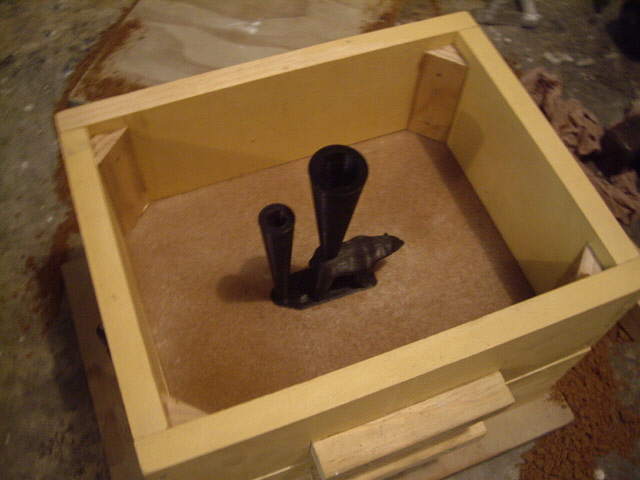
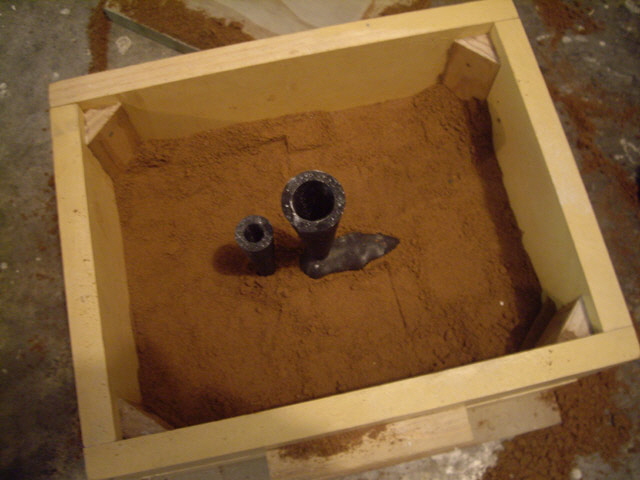
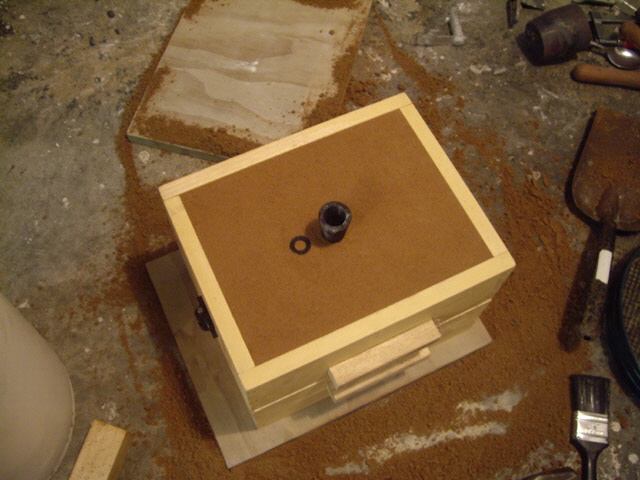
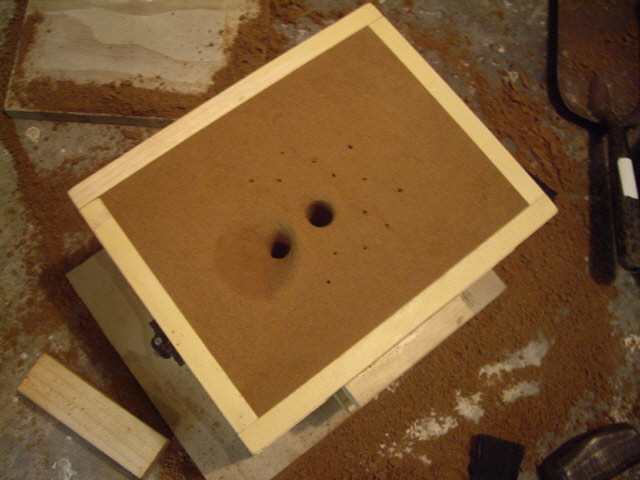
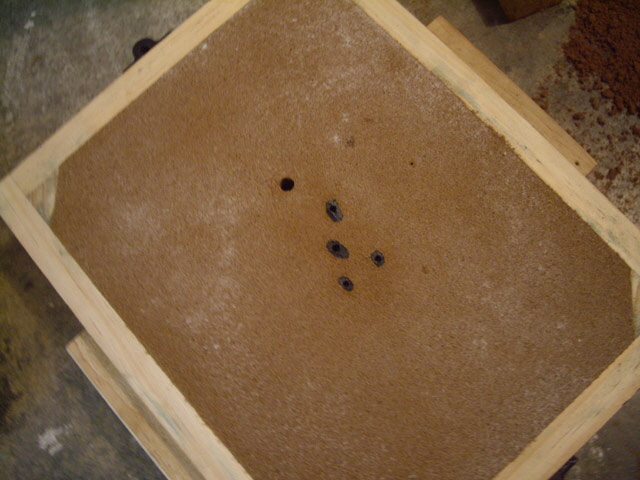
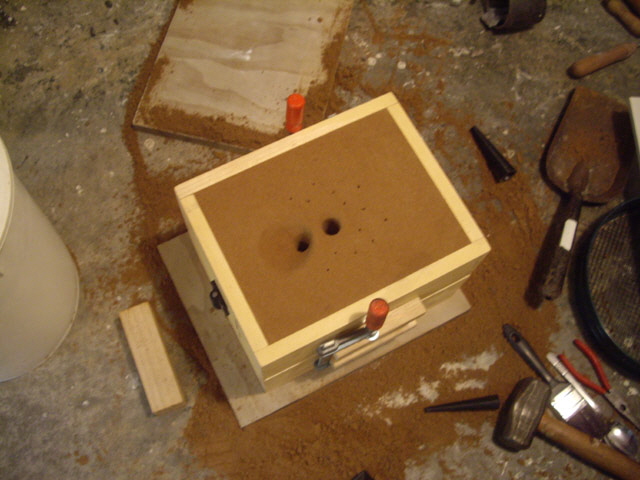
Figures 3a to h. Building the Sand Mould
I only need 500 g of brass but I’m going to double this. 1 kg of brass melted in about 20 minutes but I super heated it for a further 10 minutes with the hope of vaporizing the PLA. I added about 10 g of some zinc and deoxidized with a few grams of aluminium, removed the dross and poured the mould.
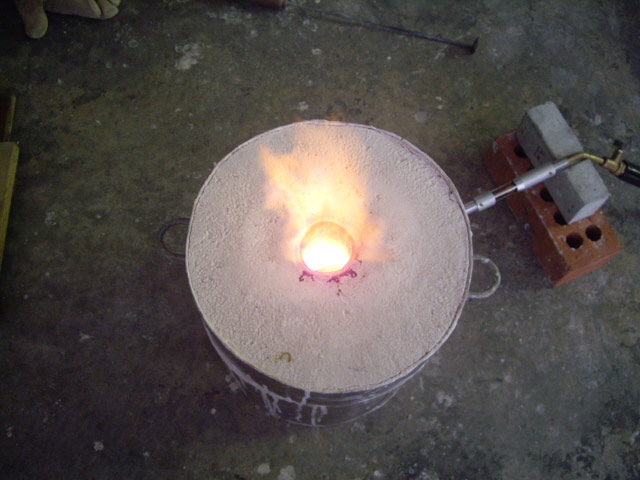
Figure 4. The Melt
Something went wrong really early in the pour. Initially there was a some plastic smoke and gas from the vent but this suddenly stopped and the sprue filled to the top on the pouring basin. I completed the pour down the riser/vent.
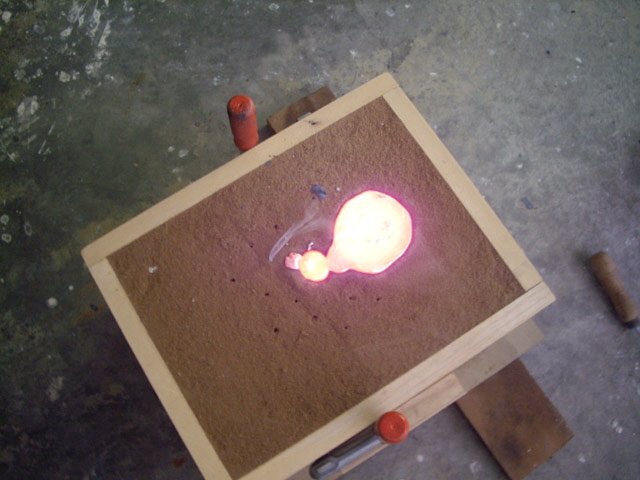
Figure 5. Oops! Something went Wrong During the Pour
After 30 minutes I broke open the mould. The sprue, pour basin and riser were full. There were occlusions in the sprue well (looks like mill scale from the crucible), and some sort of residue at the base of the sprue well.
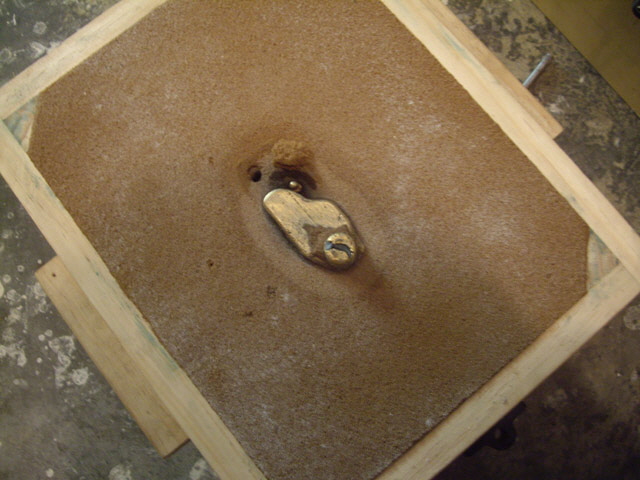
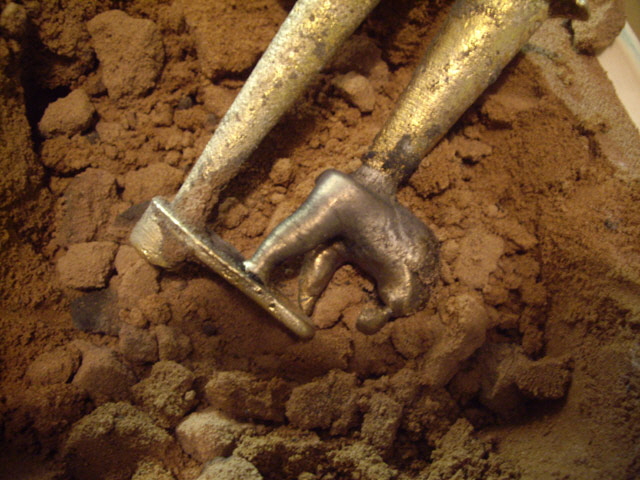
Figures 6 a and b. Opening the Mould
The bear’s head and part of a foot were still intact PLA! No brass had gotten into these areas.
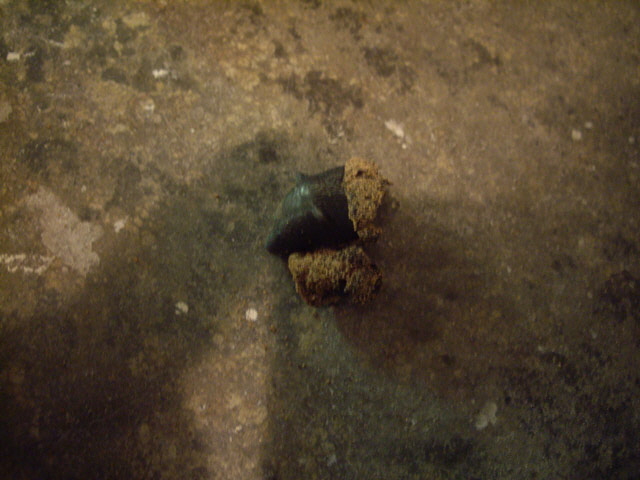
Figure 7. Residual PLA in Sand
The bear’s right rear leg had filled reasonably well except for the foot, and the bear’s tail was quite well formed. The surface finish in these areas was good, as was the top and bottom of the gate.
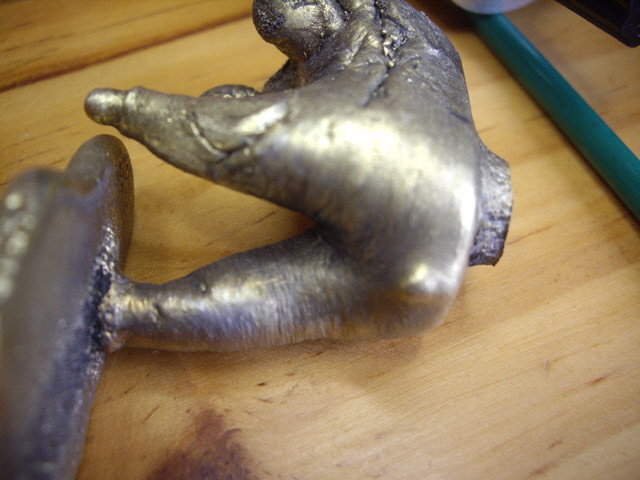
Figure 8. Rump Detail not too Bad
Other parts of the body had wrinkles that were filled with PLA debris.
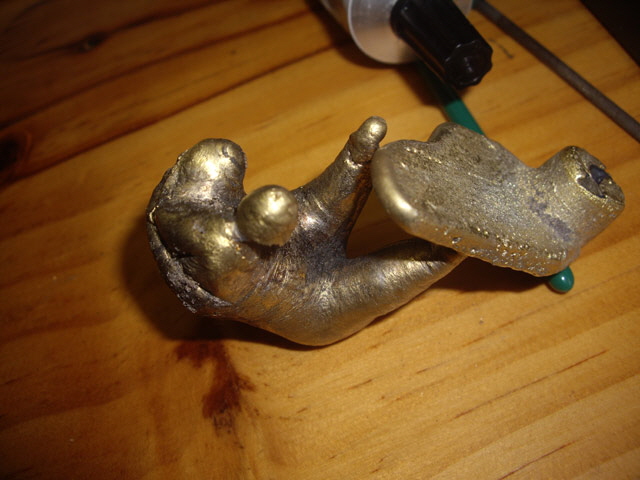
Figure 9. Another View of the Failed Casting
The rump of the casting was somewhat narrower than the original pattern. I figure that when knocking up the mould I had over-compressing the sand in the cope causing the thin walls of the pattern to deflect inwards. The 3D print has no infill and is therefore susceptible to distorting under pressure.
There was a carbon streak from the bear’s right rear paw to the sprue well.
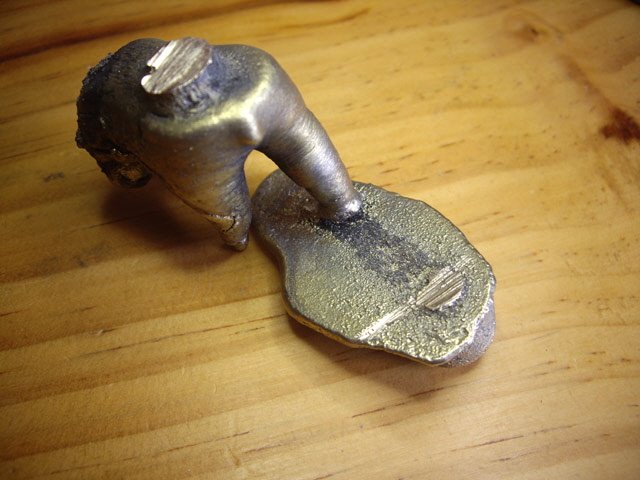
Figure 10. Carbon Streak on Gate
The residue in the base of the sprue well was a relatively large piece of mill scale (iron oxide from the crucible). I suspect that this was the cause of the failed casting. The mill scale probably blocked (or partially blocked) the gate causing it to freeze, and with no where to go the metal simply backed up the sprue. The remaining pour down the riser was never going to be successful because there was no effective venting path for the burnt plastic residues. Gasses formed by the burning plastic probably prevented the brass from reaching some areas of the mould cavity.
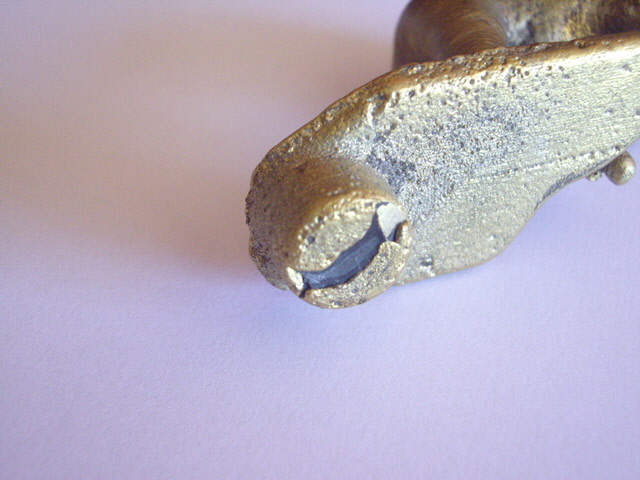
Figure 11. Mill Scale in the Sprue Well
The pour would probably have worked better had I kept the gate horizontal. I also need to add some pillars between the gate and the bear’s feet to facilitate separating the casting from the gate.
I’ll need to repeat the experiment, but if it doesn’t work then I’ll need to try some form of investment casting. This process is slightly different. Print out the 3D model. Coat it in investment refractory layers to a thickness of about 5 mm. Melt/burn out the PLA and remove any carbon residues. Then cast metal into the empty investment shell supported by loosely packed sand.
I’ve re-printed the bear ready for the next attempt at lost PLA. Unfortunately I have too much on just now so this will have to hold for a while longer...
I’ve revisited the lost PLA process recently and modified it so that it is now an investment casting process. While this takes some additional steps it makes for a more robust process. This page is already quite long so I have put my continued experiments on a new page.
Click here to follow the link to investment casting.
|