|
I recently experienced a build plate disaster on my Saturn 2.
The short version of this story is that I ended up with cured resin all over the build plate. The longer version is likely more entertaining.
I had just finished printing some models and had set about cleaning the build plate in my well-used first wash tray of ethanol. I decided that I wanted to photograph the models on the build plate so I went to get my camera. Darn. The camera battery was flat, but I have fully charged spares somewhere. So I fitted a charged battery and went back to take the photograph.
In this brief interlude the sun had appeared from behind clouds, and thanks to the rotation of the earth, was shining directly on the build plate and wash tray. The resin had set all over the build plate and the well-used ethanol in the tank had turned from a liquid to a jelly. And my beautiful models were entirely ruined. In my distress I even forgot to take the photo!
Of course this was entirely my fault and easily avoided by being slightly less stingy and replacing the ethanol from time to time, and working away from direct sunlight.
The problem that I was now faced with is that cured acrylic monomers are not readily soluble in available solvents at room temperatures. I’ve tried a whole bunch including MEK, toluene, turpentine, petrol, ethanol, methanol, IPA, ether and THF (tetrahydrofuran). You just don’t want to be heat some of these chemicals, even with hot water.
So I had to carefully scrape the cured resin off the build plate which was difficult because the plate is textured to ensure good adhesion. Unfortunately this caused scratches on the surface of the plate. While these weren’t deep they would certainly show up on any surface printed on the plate.
So I decided to re-surface the plate using 800 grit wet and dry carborundum paper. There are other posts that you may find on this very topic. Some folk say don't do this under any circumstances but if you bugger your build plate surface then short of buying a new one you have no option.
To do this you’ll need a flat surface. I’m fortunate to have a granite surface plate, but a sheet of plate glass or even MDF should suffice.
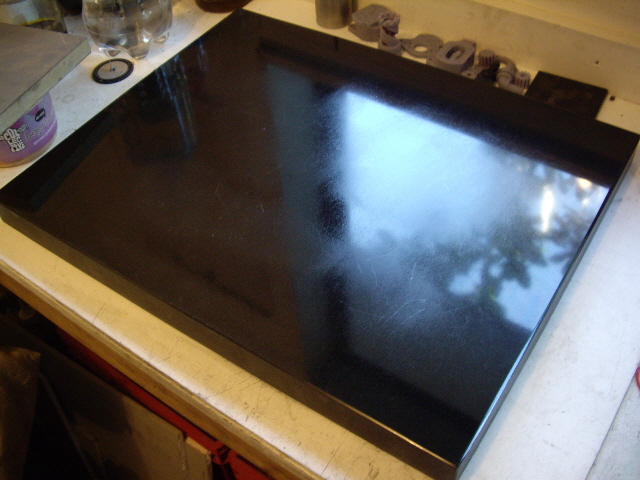
Figure 1. Granite Surface Plate
The next issue was taping two A4 sheets of carborundum paper together to get a large enough flat abrasive working surface. I used masking tape, avoiding overlaps and leaving a small gap ~ 1 mm wide at the sheet join. The gaps between pieces of tape are completely fine. There is no need to tape the entire backing as the strips form a lapping surface. Then tape the abrasive paper to the flat surface using a piece of MDF or similar to ensure that it is flat with no raised imperfections or wrinkles, and is completely free from grit.
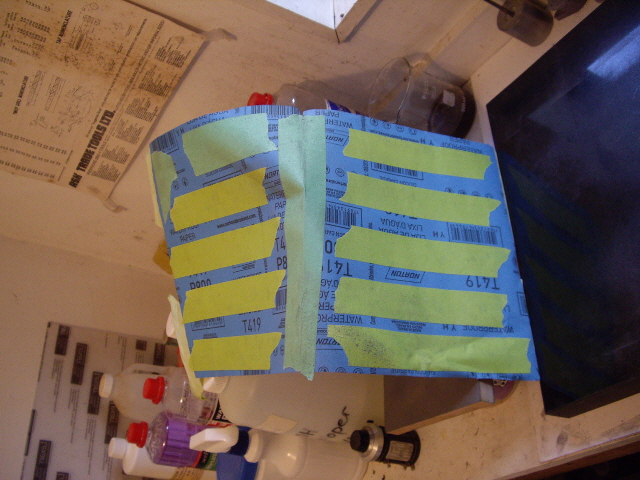
Figure 2. Taped 800 Grit Carborundum Paper
The resurfacing process is straight forward but a little messy so work in an appropriate area and wear gloves. Work the plate a few linear strokes with light even pressure. Then turn it say 45 degrees and repeat. Ideally the turning would be random but this process will work. Every now and then brush off the accumulating aluminium dust with a fine brush. This sticks to everything, is combustible, and potentially explosive when distributed in air.
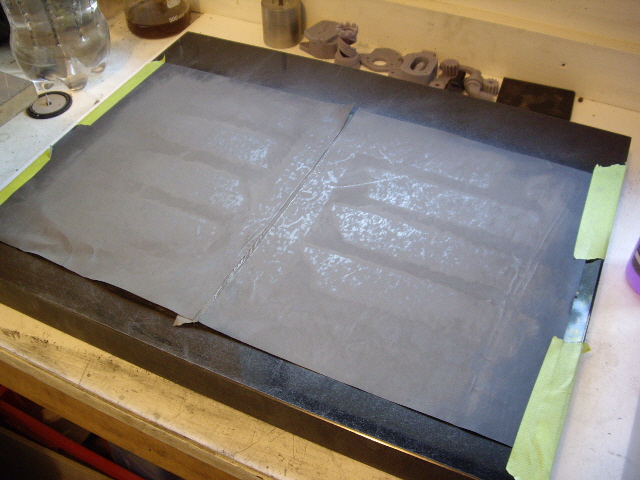
Figure 3. Grinding Surface
On first inspection after a few minutes of sanding the scratches were disappearing leaving a nice even satin finish. But there were two distinct low spots on the build plate. This isn’t my surface plate and it’s not the carborundum paper. The original build plate wasn’t dead flat (possibly due to inadequate machining or stress relief from the original casting). I kept going with the resurfacing until the lows were gone. Then I cleaned everything up using water and detergent.
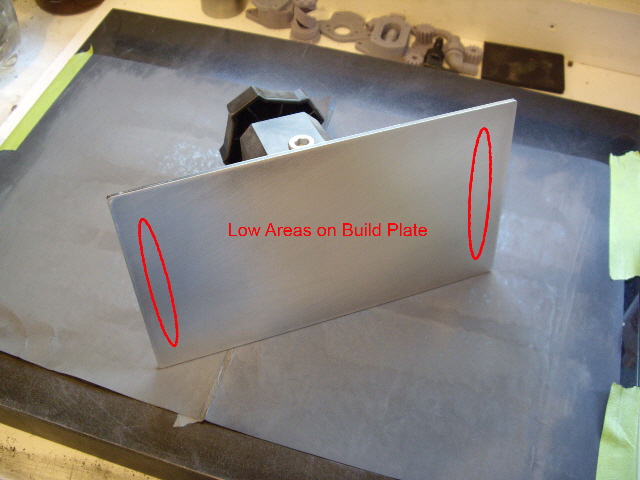
Figure 4. Low Areas on Build Plate
This process does produce a slight rounding extending about 2 mm inwards from the sides of the build plate but this area is outside the LCD so it is not printable surface, and the rounding likely eases resin flow during retracts and returns.
The resurfaced build plate is like a mirror at a low vision angle, but has a fine satin finish. It provides excellent model adhesion across the entire printable area - but not so extreme that models cannot be detached with relatively ease.
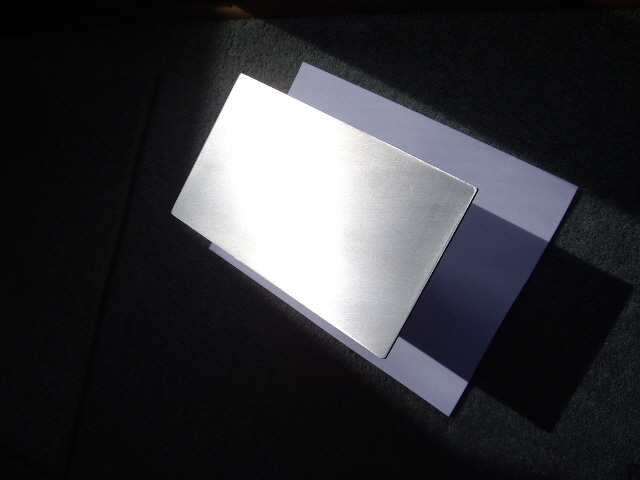
Figure 5. Resurfaced Build Plate
Click on USB Formating to link to another page on the Saturn 2.
|